WhatsApp is a smartphone application that lets users send and receive free text messages. What if you wanted to utilize WhatsApp on your computer instead? Using BlueStacks App Player, you will learn how to use WhatsApp on a PC — either a desktop or a laptop – in this tutorial.
[lwptoc]
BlueStacks App Player
BlueStacks App Player is the best an Android emulator that gives Windows and Mac computers a smartphone-like interface, allowing you to download and run Android applications from the Google Play Store, including WhatsApp.
Rosen Sharma, who was formerly at McAfee and is a board member of Cloud.com, launched BlueStacks in 2009. BlueStacks App Player is used to be by millions of people to run Android applications on their computers.
BlueStacks App Player is available for free download at bluestacks.com.
Steps to Use WhatsApp on PC
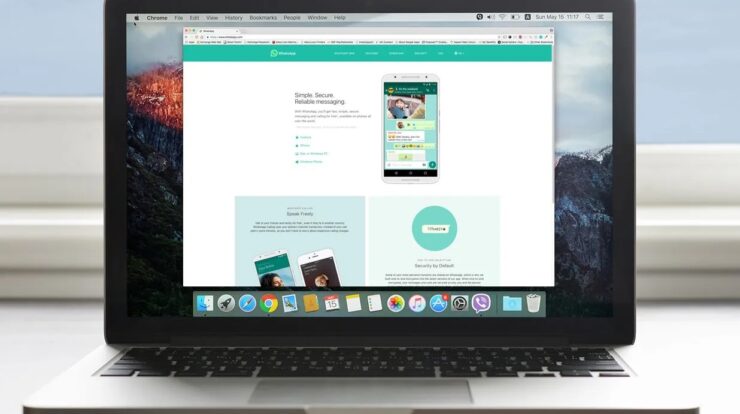
WhatsApp has launched a web version for Windows and Mac computers. To use WhatsApp online on a computer, you’ll still need a phone with WhatsApp installed. On your computer, WhatsApp’s online version simply generates a mirror copy of WhatsApp (phone version).
We want to install WhatsApp on a PC without needing to use a phone in this instance. So, if you don’t have a smartphone, just follow the instructions below to use WhatsApp on your desktop or laptop!
1. Download BlueStacks app player to your PC
You must first install the BlueStacks player on your PC. You will do this by going to the BlueStacks website by entering http://www.bluestacks.com/ into your computer’s browser.
Follow the on-screen directions until the installation is complete by clicking the download button.
Whether you’re asked if you want access to the app store during the installation, choose yes.
2. Open BlueStacks app Player on your PC
After the download is complete, launch the BlueStacks App Player on your computer by double-clicking its desktop shortcut or searching for it.
3. Sign into Your Google Account
You will be prompted to login in to your Google account via BlueStacks app player. Please do so since it is required to access the Google Play Store.
4. Search for WhatsApp
Search for WhatsApp using the magnifying glass in the top left corner of the app player.
5. Select Install.
In the Google Play Store, click the install button and then agree when prompted with a list of permissions. Wait for the application to complete its installation.
6. Launch WhatsApp.
If you’re still at the Google Play Store, look for the OPEN button and click it to launch WhatsApp.
7. Verify Your Phone Number
When you first start WhatsApp, you’ll be asked to enter your phone number so that you may get a verification code. Please put your phone number in the space provided.
Your computer will display a verification failed message when you input the phone number. This is quite normal and there is nothing to be concerned about.
Simply choose the Call Your Phone option to get an automated message with the verification code.
To verify your phone number, enter the verification code.
8. Start Chatting
You should see WhatsApp on your computer after inputting the code. Start a WhatsApp conversation with any of your contacts to ensure that WhatsApp is functioning on your computer.