
Obsidian already has note-taking capabilities. But just because something works doesn’t imply it can’t be improved. Obsidian plugins are available for this purpose. Obsidian plugins enhance your note-taking experience and boost your productivity. You can even use plugins to turn Obsidian into anything more than a note-taking app. Let’s review the different ways you can use to install Obsidian plugins.
Guide On How To Install Obsidian Plugins?
Use Community Plugins Browser
The community plugins browser is the most user-friendly method of adding plugins to your Obsidian workspace. The Obsidian team has authorized community plugins, which may be downloaded from the Obsidian app. Here’s how to use this method to install Obsidian plugins.
- Open Obsidian, go to the screen’s bottom left corner and click the settings button.
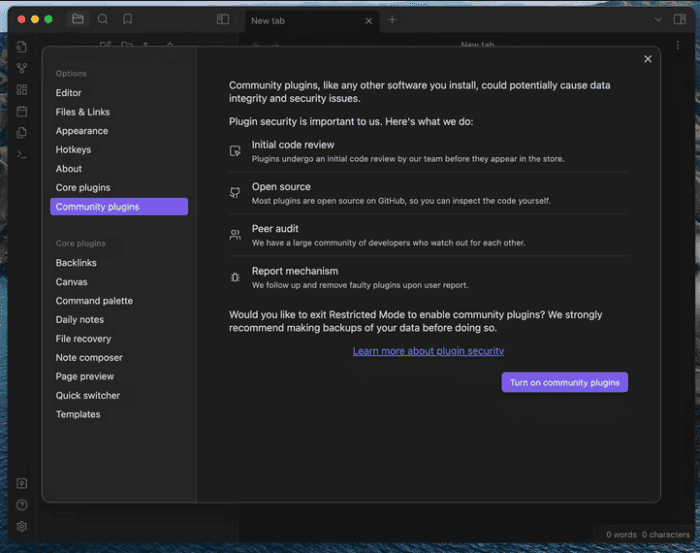
- Select the Community Plugins option.
- Turn on community plugins by clicking the button.
- Select Browse.
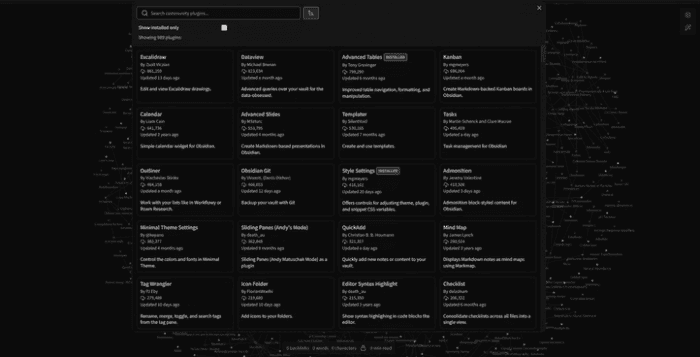
- Locate and pick the plugin that you wish to install. We’ll be installing the Kanban plugin for Obsidian.
- To add the plugin to your workspace, go to its website and click the Install option.
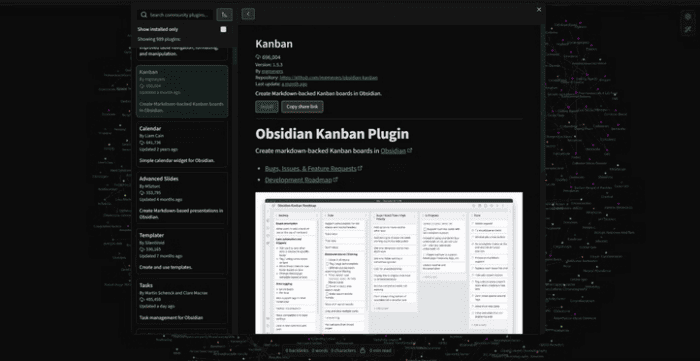
After you’ve installed the plugin, click Enable on the same page to activate it.
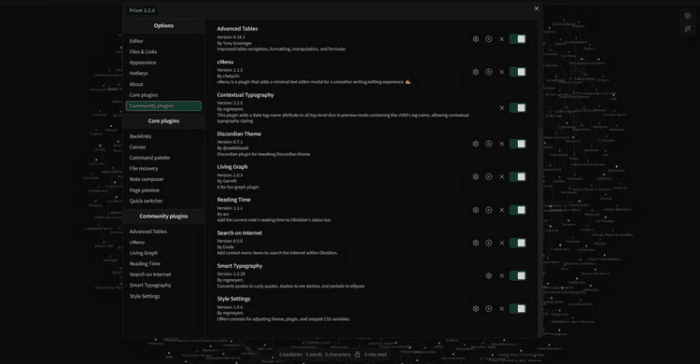
Alternatively, you can always use the settings to activate and disable plugins. Toggle the switch next to the plugin’s name in the Community Plugins tab.
Manually Install Obsidian Plugins
Because the Obsidian staff takes time to review and validate plugins, newer plugins may not be accessible directly from Obsidian. Regardless of whether they are on the community plugins list, all Obsidian plugins are hosted on GitHub and may be downloaded and installed manually. So, whether the plugin you want isn’t in the community plugins or you need help with the plugin browser, you can depend on this method to install Obsidian plugins confidently. This is how.
- On GitHub, look for the plugin you wish to install.
- Download the most recent version of the plugin.
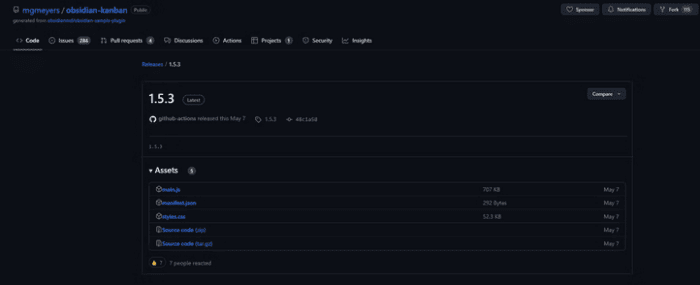
- The plugin files should be extracted from a folder on your PC.
- In Obsidian, go to the Settings menu.
- Navigate to Community Plugins.

- To access the folder containing your Obsidian plugins, click the folder icon next to Installed plugins.
- Extract the plugin folder and place it in the Obsidian plugins folder.
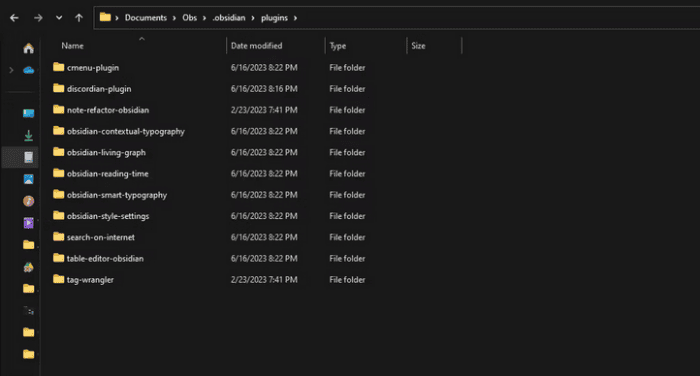
It is important to note that you should copy the plugin files folder, not the plugin files themselves, into the plugins folder. Typically, the folder will include three files. Your plugins folder should look like this, with each plugin in its folder.

After you’ve copied the plugin files, you can activate it in Obsidian’s Community Plugins tab by toggling the switch next to the plugin name.
Consider The Following:
Conclusion:
One of the nicest aspects of Obsidian is the ability to install plugins and enhance its functionality. Installing plugins in Obsidian is a simple procedure that may help you personalize your workspace and boost productivity. Plugins may make your note-taking experience more pleasurable and productive, so don’t be afraid to experiment with them!