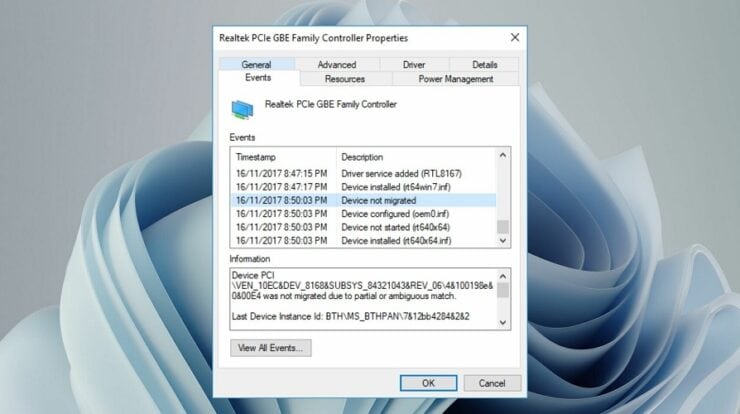
Nothing is more repulsive than the error message “Device not Migrated.” Especially when you connect a hard drive or a USB drive to your Windows machine; indeed, some systems may experience the error after upgrading and installing Windows 10. Unfortunately, many factors, such as an incompatible device driver or corrupted drivers, can cause the error to appear on your screen. Fortunately, you can fix the error message by making a few changes to your system settings. This guide will review several methods for resolving the “Device Not Migrated” error.
How To Fix Device Not Migrated Error?
Check Connectivity Of USB Devices
There’s a good chance you’ll see the “Device Not Migrated” error on the screen due to poor USB connectivity, such as faulty ports. Connect your USB flash drive to different ports to find the exact cause of this issue.
Check Damaged Windows System Files
First, we must check whether or not the Windows system files are corrupted. Using Command Prompt, you can check for a damaged system file.
- Start Command Prompt. You can do this by pressing Ctrl + R on your keyboard or opening the Run window. It is critical to understand that to check the status, you must log in with an administrator account.
- When the Command Prompt appears, type “sfc/scannow” to enter the check procedure.
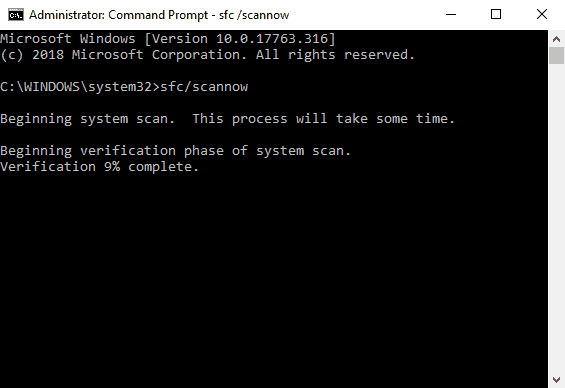
- Your System will now begin to examine your files. If there is a corrupted file, the System will fix it.
Update Chipset Drivers
An out-of-date chipset driver may result in the “Device Not Migrated” error. As a result, you must update your outdated chipset drivers.
- From the taskbar, select Start.
- Use Device Manager to find what you’re looking for.
- From the Device Manager window, update the device that needs to be updated.
- To continue the process, right-click on your hardware device.
- You will now see an update panel on your screen, where you must select all of the drivers you wish to update. You can also select “Automatically search for updated driver software.”
- It will look for the most recent updates and automatically download and install them.
Uninstall And Reinstall Driver
There are numerous reasons why you may receive the “Device Not Migrated” error, including the use of incompatible drivers or the use of damaged drivers. To fix the migrated error, you must first fix the drivers by uninstalling them and then reinstalling them on your device.
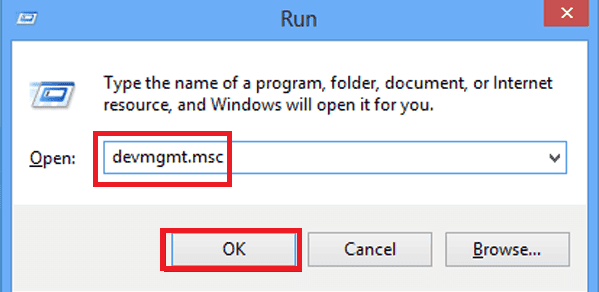
- To begin, access Run on your screen by pressing Ctrl + R on your keyboard at the same time.
- In the Run box, enter “devmgmt.msc” and press Enter.
- Locate the device that is causing problems and then right-click on it.
- Select ‘Uninstall,’ and you will see that the uninstallation process has begun. You will be able to reinstall the driver once you have successfully uninstalled it.
- You must install the drive in compatibility mode. Also, You can do this by right-clicking on the driver file and selecting Properties.
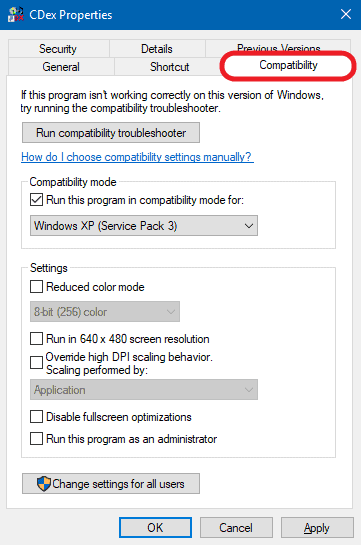
- Next, select the Compatibility option. Check the box next to “Run this program in compatibility mode” in Compatibility mode.
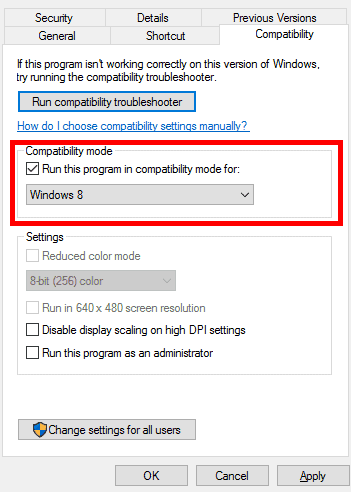
- Select the Windows version from the available drop-down menus.
- Select Apply and then click OK.
Update & Rearrange BIOS Settings
When your machine has the wrong BIOS settings, it prevents the PnP (Plug and Play) driver collector from recognizing the device. To fix the error, you can either update the BIOS settings or rearrange the settings to locate the device easily.
The Bottom Line:
So, multiple ways to fix the “Device Not Migrated” error on Windows 10 is the most efficient way to fix the issue. However, remember that if you cannot resolve the issue after attempting all of the fixes mentioned above, you will need to download a previous version of Windows.