Countless Mac users have encountered the error message “The recovery server could not be contacted” while installing the latest macOS updates. This error can also occur when your want to perform some other action that requires an internet connection. However, you don’t need to worry. In this useful guide, we’ll delve into the reasons behind it and provide six solutions to get your Mac back on track. So, stay with us.
Part 1: Why the Recovery Server Could Not Be Contacted?
If you Macbook says “Recovery Server Could Not Be Contacted,” it typically means that the device cannot establish a connection with Apple’s servers. There can be several reasons why this error occurs:
- Your internet connection is unstable or there are other network issues.
- Date and time settings on your Macbook is incorrect.
- Sometimes, Apple’s recovery servers can become overloaded due to a high volume of requests, especially when the latest system updates are released.
- Firewall or security software may be preventing your device from contacting Apple’s servers.
Part 2: Quick Fixes for Apple Recovery Server Could Not Be Contacted
There’s no need to overcomplicate the issue. In fact, performing some simple basic checks can solve the problem easily and quickly.
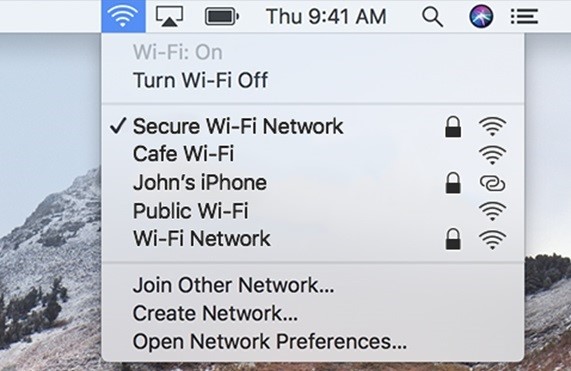
Solution 1: Stable Internet Connection
The simplest method to fix the “recovery server could not be contacted high sierra” error is to keep your internet connection stable. Yes, you heard it right. If you are using Wi-Fi, try using an Ethernet cable for a wired connection, as it can be more reliable.
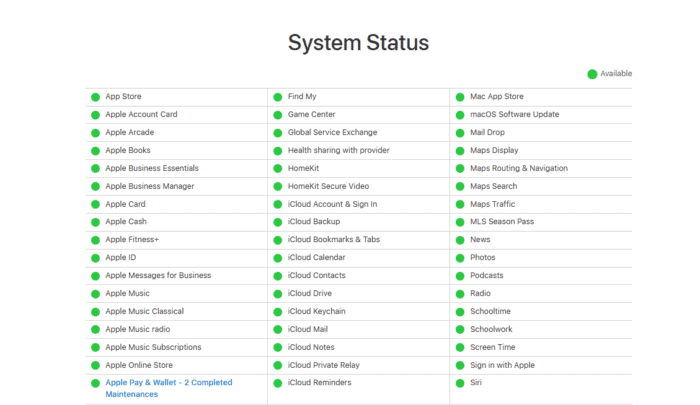
Solution 2: Check Apple Server’s Status
Sometimes, the issue might not be on your end but with Apple’s servers. Apple’s servers can occasionally experience downtime, just like any other online service. In such cases, there’s not much you can do from your end except wait for Apple to resolve the issue. You can check the status of Apple’s servers by visiting the Apple System Status page, where they provide information about the status of their various services.
Solution 3: Disable Third-Party Software
Security software or firewalls can block your Mac from accessing Apple servers. Check your firewall settings and temporarily disable any security software to see if it’s causing the problem. Additionally, disabling your VPN and proxy may also help.
Part 3: Advanced Solutions for the Recovery Server Could Not Be Contacted
Solution 4: Reinstall MacOS without Losing Data
You can easily resolve the issue “The recovery serve could not be contacted Mac” by reinstalling macOS. However, this solution will erase all data on your Mac, so ensure you have backed up all your important files in advance. If, unfortunately, you forget to backup or the backup is accidentally lost, Tenorshare 4DDiG data recovery can be your lifesaver.
This powerful software can help you get back data from various data loss scenarios, such as macOS reinstallation, macOS upgrades, accidental deletion, formatting, and more. Take a look at the key featuress this tool offers:
- Effortlessly recover lost data from your Macbook and various Mac-based devices like USB drives, SD cards, external disks, and more.
- 100% security and a high success rata.
- Compatible with multiple versions of macOS, such as Sonoma, Ventura, Monterey, High Sierra, Big Sur or earlier versions.
- Recover lost or deleted data in just three steps. Even people with limited computer experience can easily get started.
Here is how to recover deleted or formatted data using Tenorshare 4DDiG:
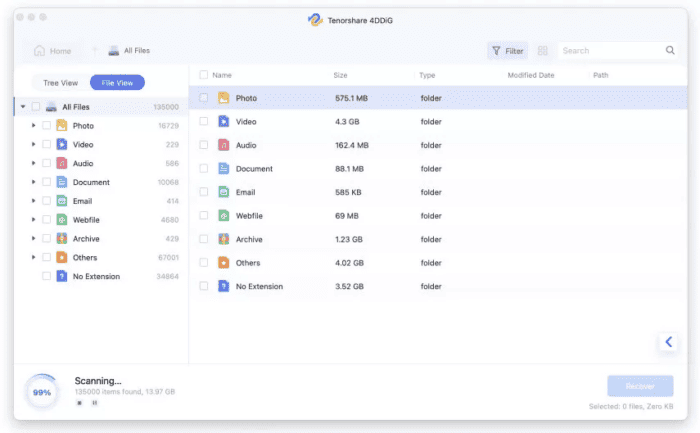
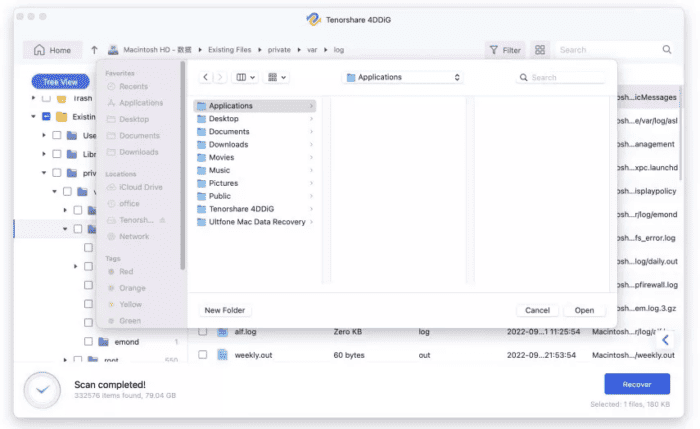
Step 1: Launch 4DDiG and select the location where you lost your data. Click “Scan” to find your lost files. To reduce scan time, you can also select specific file types to search for.

Step 2: There will be a progress bar below the software to show the current scanning progress. When you find files you need to recover, you can pause or stop the scan at any time.
Step 3: Once the scanning is complete, select the lost files and simple click on the “Recover” button. Select a safe location on your Mac to store the recovered files.
Now, you can fix the error “the recovery server could not be contacted high sierra” with confidence. Let’s erase the start-up disk and reinstall macOS:
Step 1: Restart your Mac and then, press and hold the “Command + R” keys while it’s booting up.
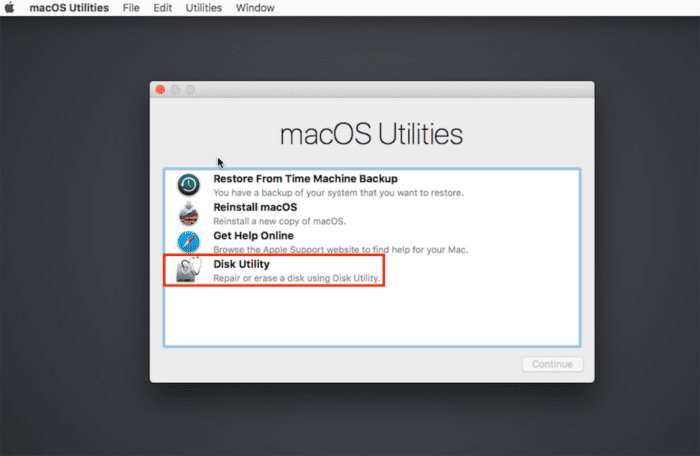
Step 2: Now, you’ll see a window that gives you options to perform different tasks. Select “Disk Utility” and click “Continue.”
Step 3: Select your Mac’s startup disk (usually named “Macintosh HD”). Then, click the “Erase” button in the top menu.
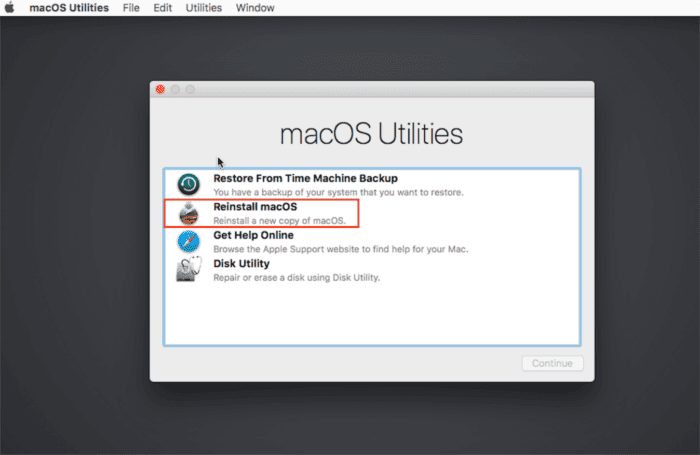
Step 4: Once the formatting process is complete, go back to the main menu and select “Reinstall macOS.”
Step 5: Follow the on-screen instructions to download and reinstall macOS on your newly erased startup disk.
Solution 5: Create a Bootable USD Drive
To fix the ‘Recovery server could not be contacted’ error on your Mac, creating a USB bootable installer is also a wise choice. The advantage of this method is that it allows you to upgrade macOS without an internet connection. Here is how to do it:
Step 1: Download macOS installer from the App Store.
Step 2: Insert a new 32GB pr larger USB drive to your Mac. Then, Open Disk Utility, format the USB drive as “Mac OS Extended (Journaled)” with a “GUID Partition Map.”
Step 3: Open the Terminal application and use the following command to create the bootable installer:
sudo /Applications/Install\ macOS\ Ventura.app/Contents/Resources/createinstallmedia –volume /Volumes/Drive1
Note: Replace “Drive1” with the name of your USB drive. In addition, you should replace “Ventura” with the name of the mac version you downloaded.
Solution 6: Adjust Data and Time Settings
The error message ‘Apple Recovery Server Could Not Be Contacted’ often occurs when your Mac’s system time and date do not match that of the server. To fix this issue, you can follow these steps:
Step 1: Click on the Apple logo in the top-left corner of your screen. Then, select “System Settings.”

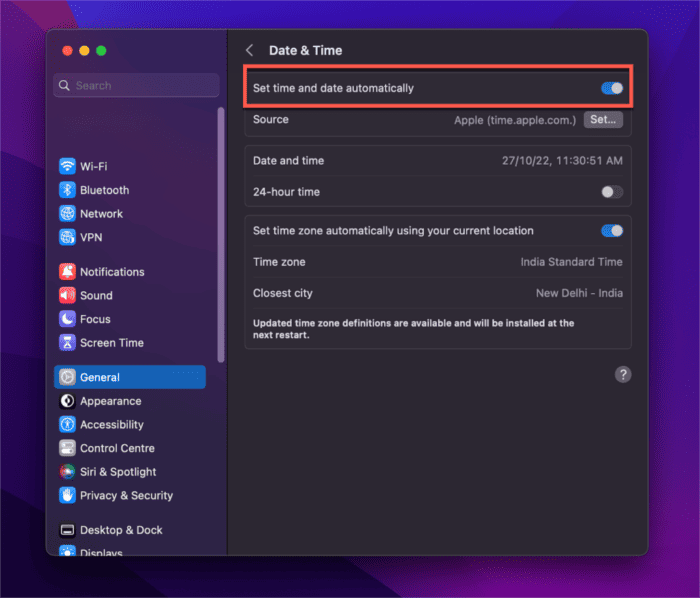
Step 2: Now, navigate to “General” and choose “Date & Time.”
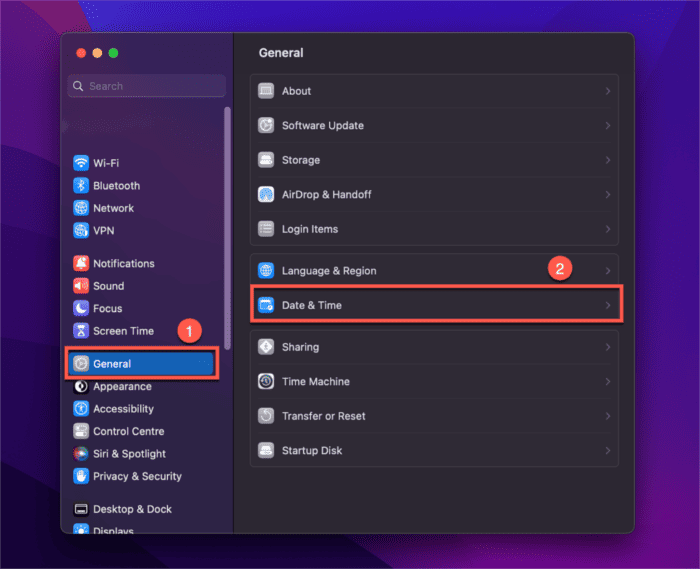
Step 3: Ensure that the option “Set date and time automatically” is enabled.
However, if you are in recovery mode, you can only do this using Terminal.
Step 1: In macOS Utilities window, click on “Utilities” from the menu bar at the top of the screen and select “Terminal.”

Step 2: For macOS versions older than Mojave, type this command to set the date and time:
sudo ntpdate -u time.apple.com
For macOS Mojave and later, you should use this command in Terminal:
sudo sntp -sS time.apple.com
Step 3: Restart your Mac and try to reinstall macOS again.
Solution 7. Use Terminal to Update MacOS
This method is more suitable for tech-savvy users; if you are not familiar with Terminal, do not use it to resolve the ‘Recovery server could not be contacted Mac’ error.
Step 1: Open Terminal, which can be found in the Utilities folder on your Mac.
Step 2: In the Terminal window, copy and paste the following command. Then, press “Enter” to execute:
softwareupdate -l
Step 3: After reviewing the list of updates, you can install a specific update by running the following command. Remember to replace label’ with the name of the update you want to install. For example, to install an update named ‘macOS Ventura,’ you would type:
softwareupdate –install ‘macOS Ventura’
Conclusion
That’s it! the “Recovery server could not be contacted” error may be frustrating, but it’s a challenge that can be overcome. With the straightforward solutions we’ve provided, you can resolve this problem with ease. Whether it’s ensuring a stable internet connection, checking Apple’s server status, or taking more advanced steps like reinstalling macOS, there’s a solution for every Mac user. So, don’t worry, stay patient, and you’ll be back to smooth sailing in no time.